One of the topics we’ll be doing a short case study on at Scratch in Control is the place of coding as a problem solving tool in Gifted and Talented provision. To summarise the approach we’ve used successfully: where appropriate, allow for a coded option to stretch G/T students. If you want to know more, either join us at our Scratch Day event in Prague, or buy us lunch…
Today, we’ve had a G/T curriculum enrichment day for Junior High (KS3) students. Many of them already have some Scratch experience, but not so much familiarity with control technology. With only an hour, projects needed to be simple I decided that the best approach would be to offer three differentiated challenges.
Level 1: His Master’s Voice
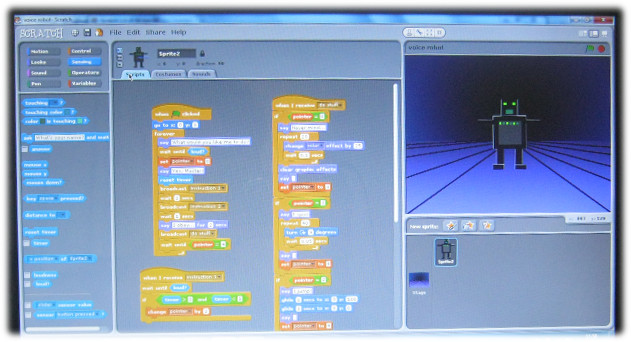
I showed the group a script for a voice activated robot on the screen, by varying the loudness and timing of my commands, it (usually) performed as expected, spinning, jumping and dancing when ordered to. We discussed possible improvements and refinements that they could make if they were to take on this challenge.

Level 2: Make Yourself a Cyborg
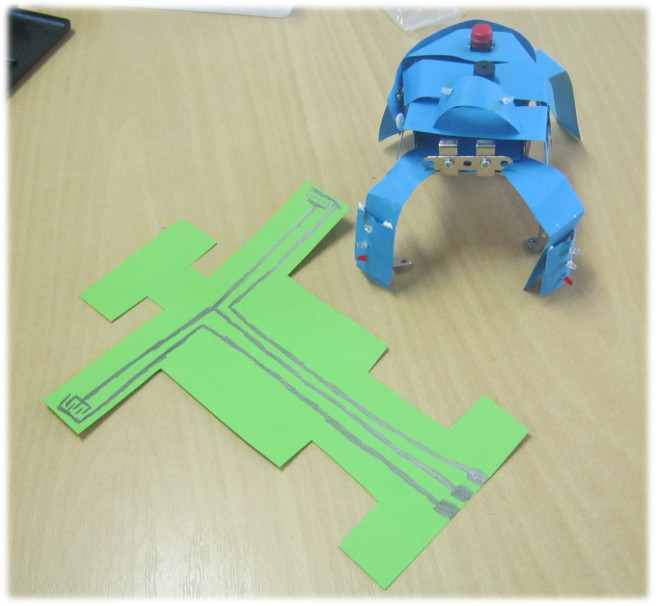
I then showed the group my simple Robot of Truth controller, connected to a Makey-Makey. We discussed different user-interfaces that they could draw with a 2B pencil. Some of them had existing projects that they wanted to enhance by making their own custom controllers.

Level 3: Activate Skynet!
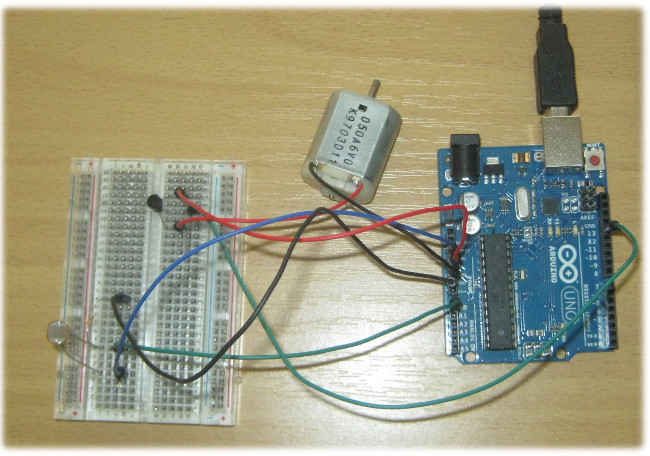
A Makey-Makey will let you easily make almost anything into a button for Scratch, but if you want more options involving both input and output , S4A with an Arduino make a great combination. I set up a simple breadboarded circuit including a light sensor and a DC motor; showing how just a few blocks of code would enable you to use the LDR as a simple proximity sensor to set off the motor. We discussed some possible projects, and I had a couple of students prototyping a contactless game controller and a Rube Goldberg burglar alarm.

In short, it was a very fruitful afternoon spent with two groups of creative and enthusiastic students.
